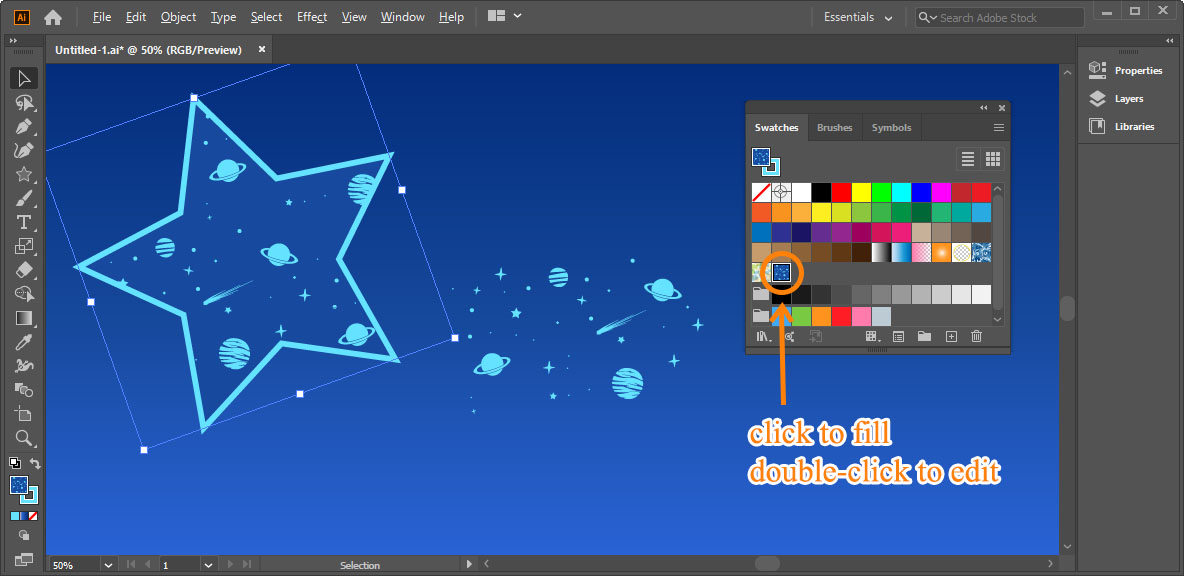
Patterns are special types of fills, alongside with solid colors and gradients, that consist of repeating objects. They can be made out of any objects an are stored as swatches on the Swatches panel or as separate libraries.
Make a Pattern
- Create new document of any size or designate an area in your existing one where you will create a pattern.
- Roughly place out the objects that will form the pattern. This can in fact be a single object, for example, a flower, an ornament, or just a circle.
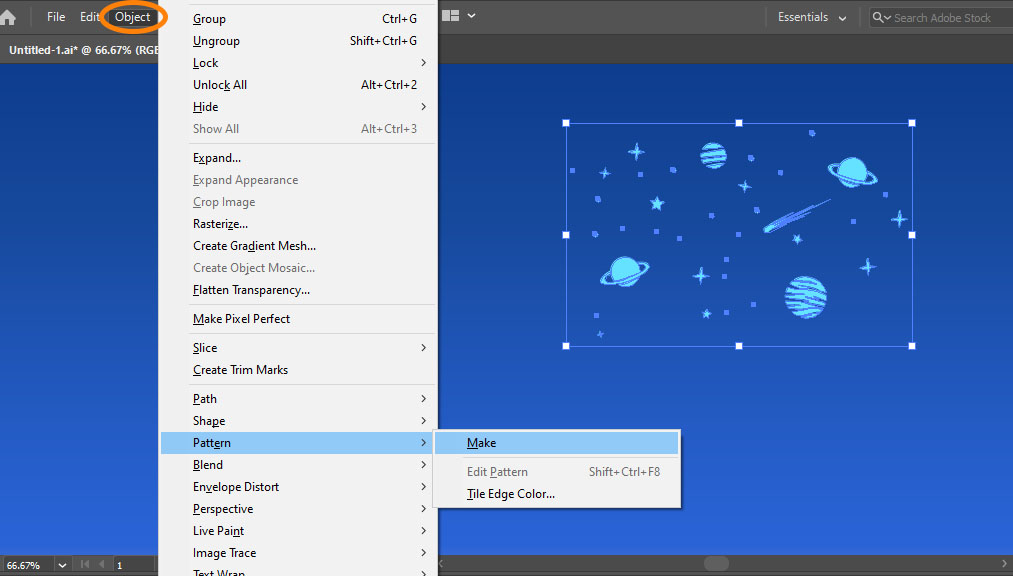
- Select your objects and go to Object menu > Pattern > Make.
A warning might come up that will inform you that a new swatch will be created, and adjustments you are now going to make will be saved to it.
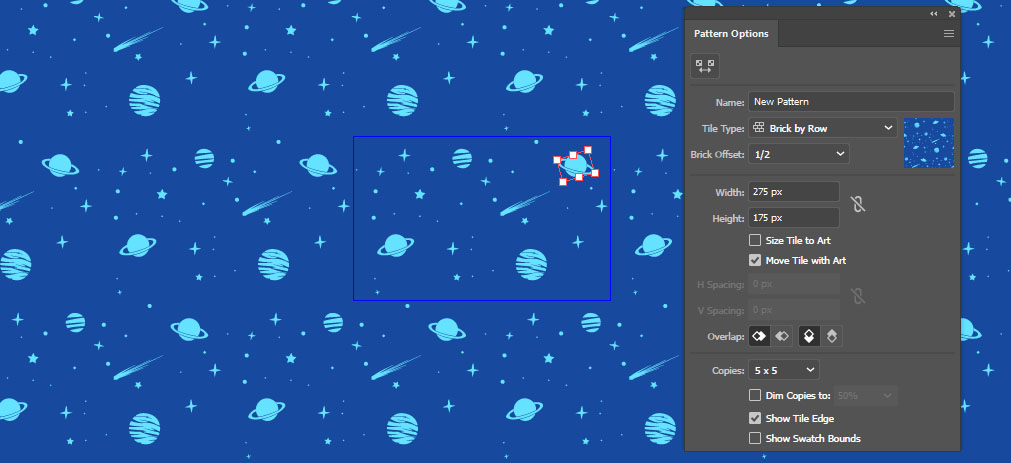
Next you will enter Pattern Editing Mode and Pattern Options panel will appear. Here you can adjust options and manipulate objects while previewing the results. You can re-enter this mode at any point in the future and saved changes will automatically apply to the swatch and any objects that are using it as part of their appearance.
Editing Pattern
- To enter Pattern Editing Mode, select the object that uses it and go to Object > Pattern > Edit Pattern or double-click the swatch.
- Choose Tile type: Grid will repeat the tile in simple rows and columns, Brick type will create an offset in rows or columns, Hex to arrange tiles like a honeycomb.
- Manipulate objects as you would normally in Illustrator: move objects around to create even spacing, edit them, change colors, add new objects. Align objects or elements on the opposite edges of the tiles to make seamless patterns that connect and flow into each other.
- At the bottom of the panel, increase the amount of copies to preview, uncheck Dim Copies and Show Tile Edge. This will allow to better assess whether repeating seams are noticeable and how your pattern will look on your artwork.
- Check Size Tile to Art and change size of all the objects to define the scale of the pattern relative to the artwork you have. Uncheck it to be able to make objects go outside the tile’s boundaries and overlap the artwork on the other side. Check diamond-shaped icons of overlapping options at the bottom which decide which side will be in front.
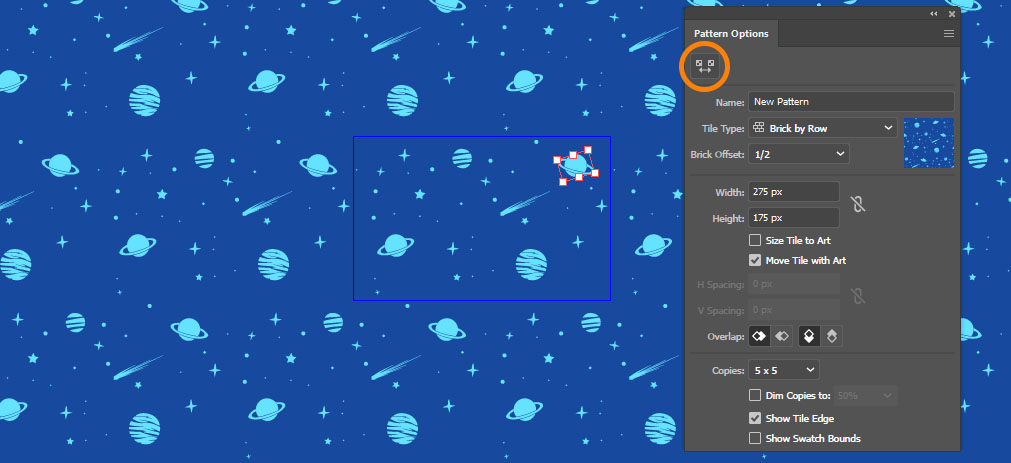
- Use Pattern Tile Tool at the top of the panel. With it, you can draw the tile directly on the artwork. This in combination with Snapping (View menu > Snap) and Smart Guides (Ctrl/Cmd + U) will make creating precise and seamless tiles much easier.
Pattern Brush
Another way of making patterns is using a Pattern Brush. It’s a type of brush stroke that repeats your artwork of choice along a path.

- Create or choose artwork that you want to use as a pattern brush stroke.
- Open Brushes panel (Window > Brushes or F5).
- Click New Brush button and choose Pattern Brush and click OK.
You will see the Pattern Brush Options dialog with the preview of your brush.
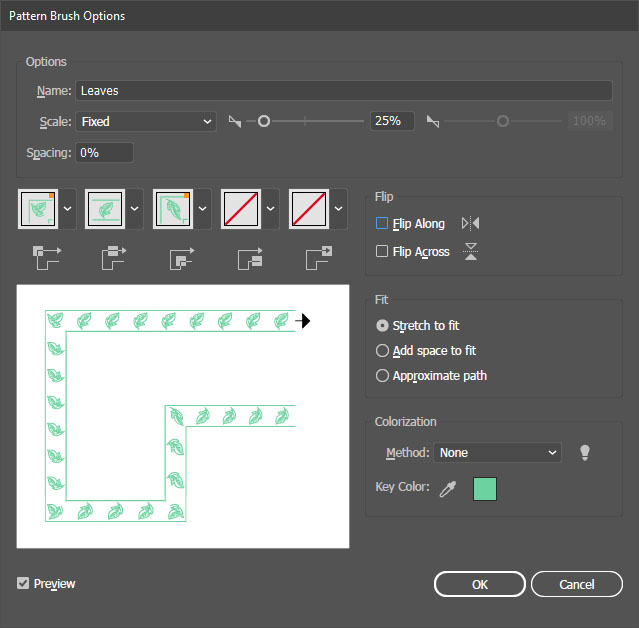
Scale option defines whether the pattern will be fixed to a certain percentage of original size or adjusted dynamically with inputs such as pen pressure if you have a tablet.
Five squared tabs below the scale and spacing options define how the stroke itself, beginning, end and inner and outer corners will look like. They can be automatically generated or taken from Pattern Swatches you’ve defined. But you can pretty much just leave the stroke tile and set others to none for most purposes.
That’s it, after you click OK, your pattern brush will be added to the Brushes panel. You can select it and paint with the Brush Tool (B) or apply it, for example, as a stroke to a circle to create circular patterns.

Double-click the pattern brush on the Brushes panel to change parameters at any time and apply them to existing strokes.