
Overheating is one of the most common causes of computer slowdown or abrupt shutdowns. It must lead to better performance and a longer lifespan. Maintaining your PC’s proper temperature range will prevent it from hanging or slowing down. You’ll need to periodically monitor the temperature of your computer’s CPU for this. We’ll show you how to scan your computer’s CPU temperature and avoid it from getting overheated.
Here is how to check the CPU temperature for Windows 10 and Windows 11:
But First, Let’s Define “Bad Temperature.”
Unfortunately, it is difficult to determine the lousy temperature of the CPU. How would you determine if your CPU’s idle temperature is 30°C? What about 40, 50, 60, or 70 degrees Celsius?
If you want to discover your Processor’s maximum temperature, go to the product description for your CPU and look for the maximum optimum temperature listed there. This is how you will determine your CPU’s excellent or lousy temperature.
1. Checking the Temperature of the CPU in the BIOS
To enter the BIOS, you must press a few keys repeatedly while booting up the CPU. These are the keys that vary from one vendor to another. You will have to perform a web search to determine the right keys for your PC model.
There is a key that works for every CPU. Generally, it is either “DEL” or “F2”. In this way, you will be able to find the temperature under a BIOS menu. The name of the BIOS menu is written differently in different models. You can find the CPU temperature under a “PC Status” or “Hardware Monitor.”
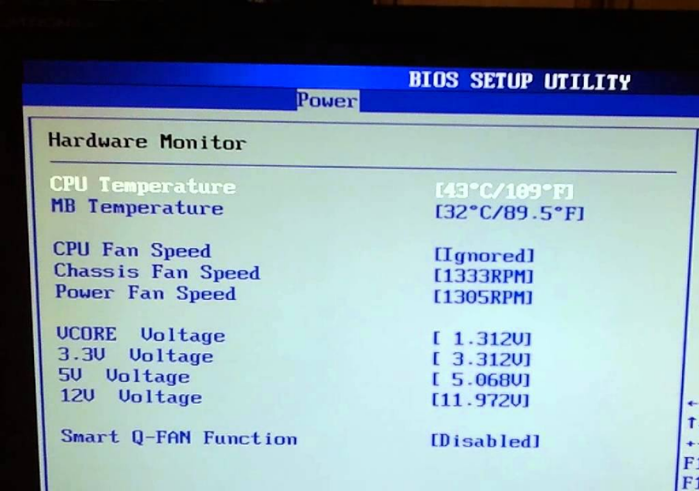
The BIOS is the primary method for checking the CPU temperature in Windows 10 and 11. It is the most basic method for reading and maintaining the CPU temperature on Windows 10 and 11. Following we have come up with a complete guideline regarding checking the temperature of the CPU via BIOS:
- First of all, you should turn off your computer. Then, it would help if you allowed the CPU enough time to shut down completely.
- After turning off your PC, hit the power button and the F2 or DEL key on your keyboard to reach the BIOS menu.
- You may use the key to enter your PC’s BIOS. Toto opens the settings; you should press the Delete or F2 button as soon as you push the power button. Also, depending on the OEM and your PC model, the key to reach the BIOS menu may differ.
- The current CPU temperature will be displayed in the BIOS. You may now boot your computer properly after learning the CPU temperature. It would help to go to the PC Status Tab or the Hardware Monitor Tab in the BIOS. Then, you will be able to read the temperature of your computer’s Processor.
2. Checking CPU Temperature via Temp Core
It is pretty important to check the temperature of the CPU or a process in the computer. Some people may not be able to check the CPU temperature via the BIOS method. If you are also finding the BIO method difficult, you should check the CPU temperature via the Temp Core app. The Core Temp is a lightweight and small software application. The app lets you check the temperature of your CPU without having to go into the settings of the CPU.

First of all, you must install the Core Temp software. You should Install Core Temp on your PC by downloading it from the website. It has a variety of settings so that you may tailor it to your preferences, and it even integrates with other apps. We tested it on Windows 11, Windows 10, Windows 8, and Windows 7. It performed admirably on each platform.
How Can You Lower The CPU’s Temperature?
Once you have checked the temperature, it may be higher than the recommended temperature. You can lower the temperature degree of the CPU to a greater extent. To begin, close any demanding applications already running on your computer. You may also try uninstalling any software or programs you are no longer using.
If you are not familiar with operating a laptop, you must not be doing it yourself. Clearing the CPU cabinet is an option. You can take this to the service center for cleaning. Check the heat sink as well. The thermal paste frequently dries out, which might lead the CPU to overheat.
The laptop or computer system will start working efficiently again. It will lower the temperature of the CPU and increase its efficiency. If you cannot resolve the issue, you should get it examined professionally.
Other Apps for Checking and Lowering the Temperature of the CPU
Following are some of the best apps used for checking the temperature of the Processor:
1. Master of Ryzen (AMD Ryzen CPUs only)
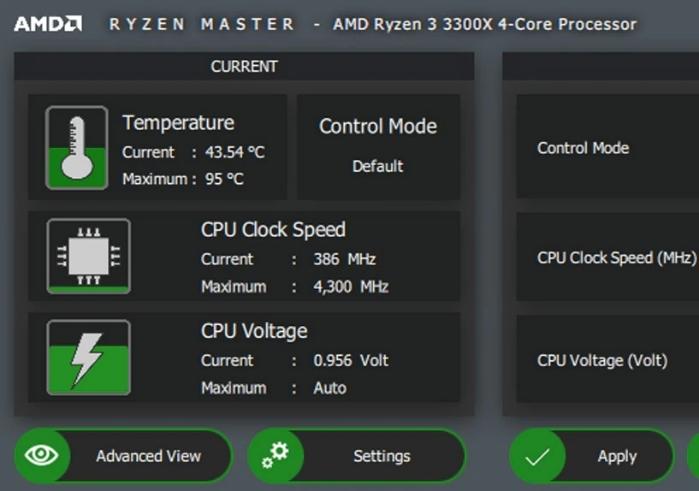
It may only be relevant to those fortunate enough to own a Ryzen processor. If you have a Ryzen processor, it is the most precise way to monitor your CPU temperature. This is because it reads the CPU temperature using an AMD exclusive technology that the other CPU monitoring tools do not have access to.
2. ThrottleStop 2
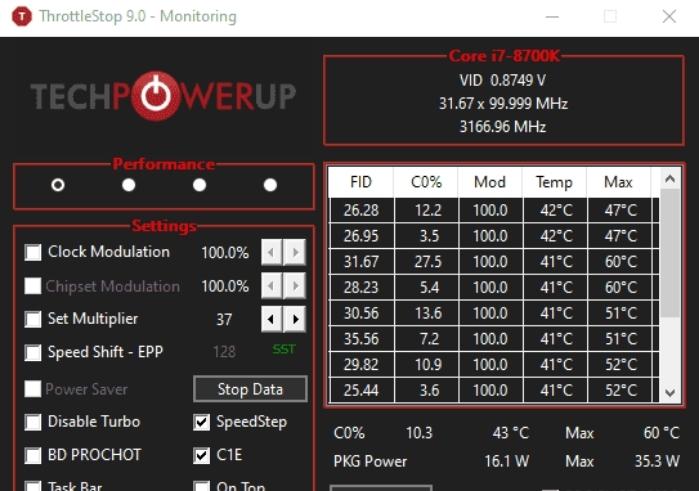
At Make Tech Simple, we’ve written about the under volting utility Throttlestop. The Throttlestop 2 allows you to increase the efficiency of your Processor. So, it lowers the temperatures and avoids throttling, allowing your CPU to work more efficiently.
3. MSI Afterburner
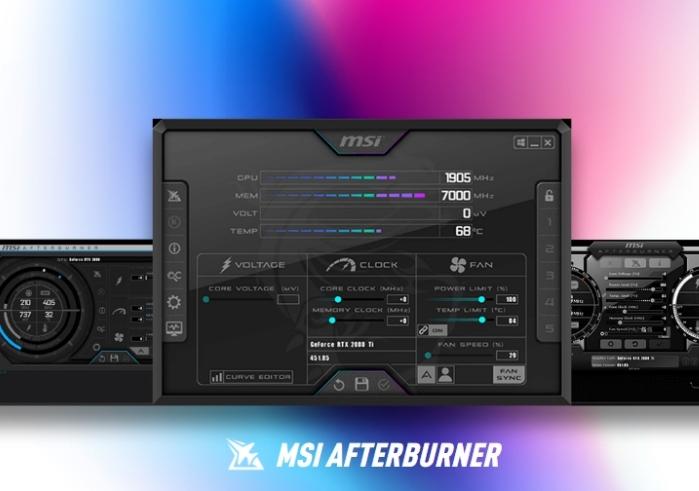
MSI Afterburner is an excellent tool for monitoring your PC temps. It was designed with players in mind and for people who wish to boost their PCs. Note that MSI Afterburner isn’t compatible with all CPUs. It is notorious for failing to display temperatures for AMD processors. Before using it, you must assess whether it is compatible with your PCS or not.
Conclusion
If the Processor has overheated, you can lower it by uninstalling heavy games and refreshing it. Alternatively, you can also use different apps for cleaning and restoring the PC.
References